After installation of Visual Basic Studio on our Computer. We need follow following steps to start a new project in Visual Basic Studio.NET


- Select Program> Microsoft Visual Studio.NET>Microsoft Visual Studio.NET from Start menu. This will start Visual Studio >Net and display the start page. The start page provides a Central location for setting preferred option. it allows developers to access existing and recent projects and create new project with click of a button.

2. There will be two option on Start up page of Visual Basic.
(i) Open(this will open an existing project)
(ii) Create
Select create option from the list, this will launch a new VB project. In New project we will find list of project types that can be created with Visual Studio .Net . Select Visual Basic in New project pane as shown in below image. After selecting Visual Basic we can give the name of your project and directory where we want to save the project

In New project pane we will find various other type of projects like
(i) Windows Application: Traditional standalone Windows application which can be used for
creating VB application or web application.
(ii)Class Library: Reusable class or component that can be shared with other projects .
This project type is considered windowless
(iii) ASP Net Web Application: programmable ASP.Net application
(iv) ASP .Net Web Services: XML web service that can be publish and called by
external applications
There are some templates for creating Visual Basic Projects

3. After clicking on Windows Forms Application in visual Basic Installed templates as shown in above image for creating an application. It will launch a Windows form designer with other Visual Studio .Net IDE Features(see the image below)

The main components of IDE are
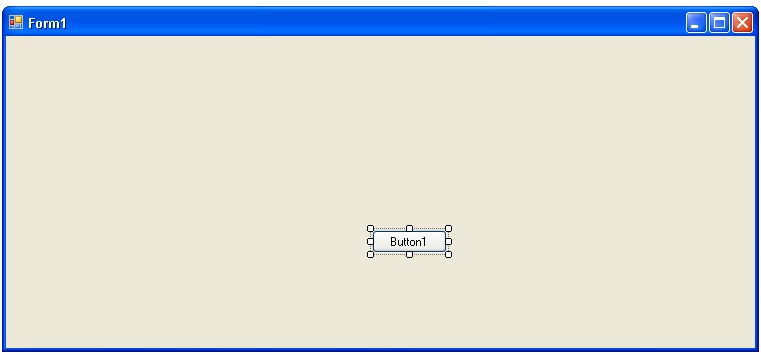
(a) Form Designer:: The main window displayed by Visual Studio.Net is known as form Designer. It allow us to create various type of visible interface for our application and write the code for our application.Below is the image of a form designer
(b) Solution Explorer: It displays an organised list of projects as well as the corresponding files and directories that are part of the current project solution.

(c)Tool Box: The toolbox window displays a varieties of tools for use in Visual Studio.Net. The tools available here are used for creating various interface and also are used for developing the project.These tools are organised into different categories and each containing related components

(d)Properties Window: Properties are attributes of an object, such as size, text, color etc. . They define the state behavior and appearance of a form or a control . The properties of an object can be set here at development time.

(e) Code Editor Windows: It can be used to edit either code or text, the code editor supports a language specific service, such as Visual basic or Visual C++ that checks for syntax error. The code editor can be opened in any of the following ways:
(i) Double click on any where on the windows firm designer
(ii)Select a form or module in solution explorer and click on the view code.
(iii) Right click on a form or control in the form designer windows and select view code.
(iv)Select code from the View menu.
The code editor contains two drop down list at the top of the window. The object list and Procedure list.

(f)Server Explorer: The server explorer console help the programmer to access and manipulate data links, database connection and system resources on any server which they have network access.

(g) Reference: A section called reference appears under our project in the solution explorer windows. This section show the references that are made to assemblies and components in our project. to add an reference to our project, we can either right click on the reference items in the solution explorer or can select project >add reference menu option.

This dialog allows you to add references to .Net component, Com components and other projects to our projects.
These are some steps for starting a Visual Basic project I think, it will help you and make you capable to launch a new project in visual Basic and it will also make you quite familiar about the various other windows/ components which are attached with Visual Studio. Net IDE
Happy programming.

No comments:
Post a Comment